
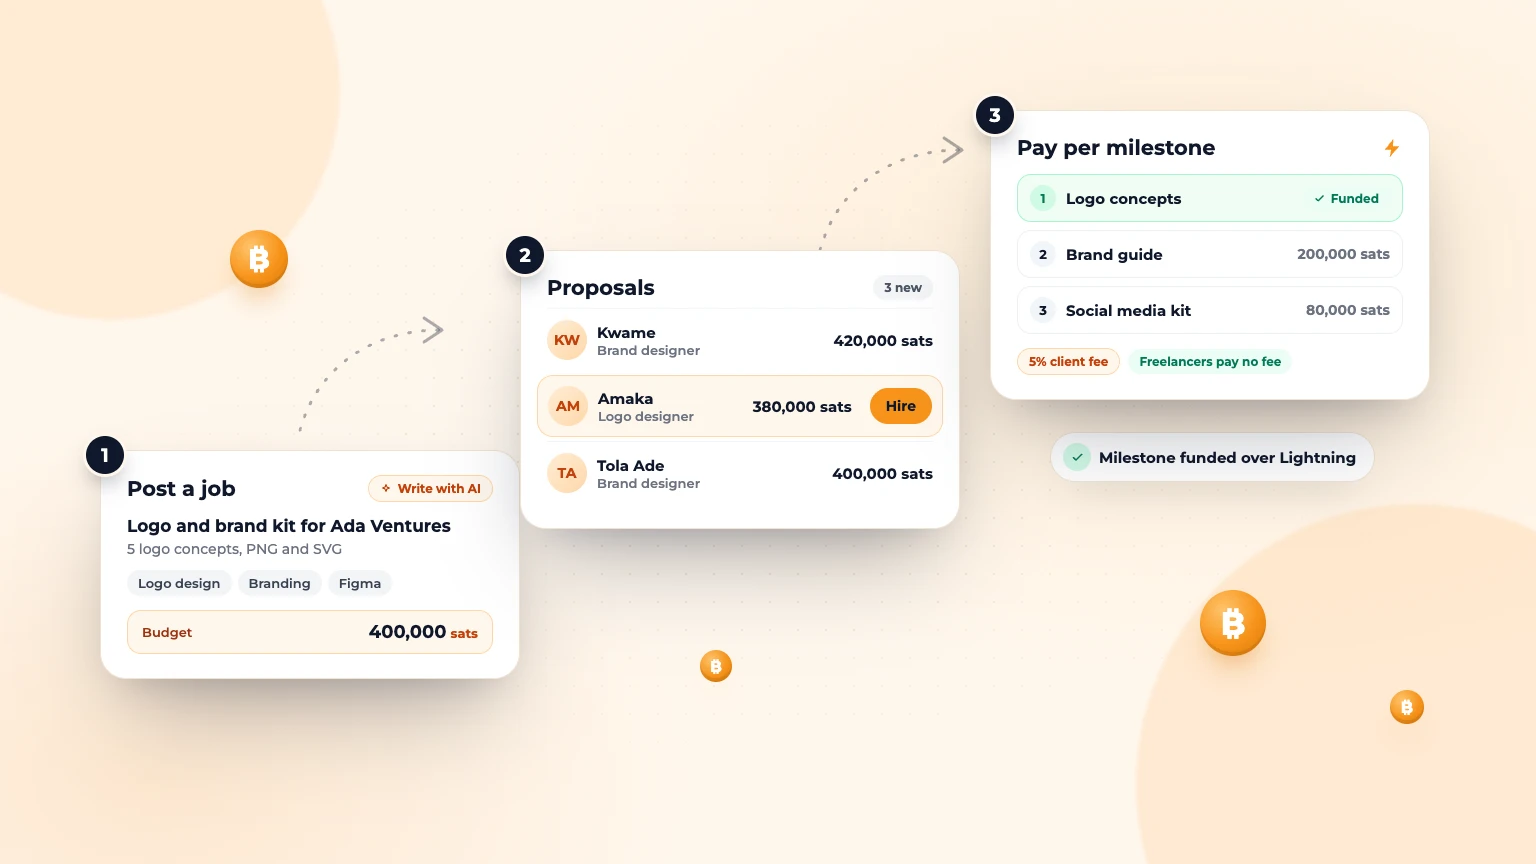
Bitlance connects you with freelancers who work for bitcoin. You post a job, compare proposals, and pay by milestone over Lightning, so the freelancer knows the money is there and you only release it when you're happy with the work.
Step 1: Create a client account
Go to bitlance.work/signup and choose Hire talent. Fill in your name, email and password, or tap Sign up with Google to hire. Then complete a short setup: who's hiring (a company or just you) and your role, your industry, team size and a short description, a logo or photo with contact details, and an optional Lightning wallet. Only the first step is required.
Step 2: Check what freelancers charge
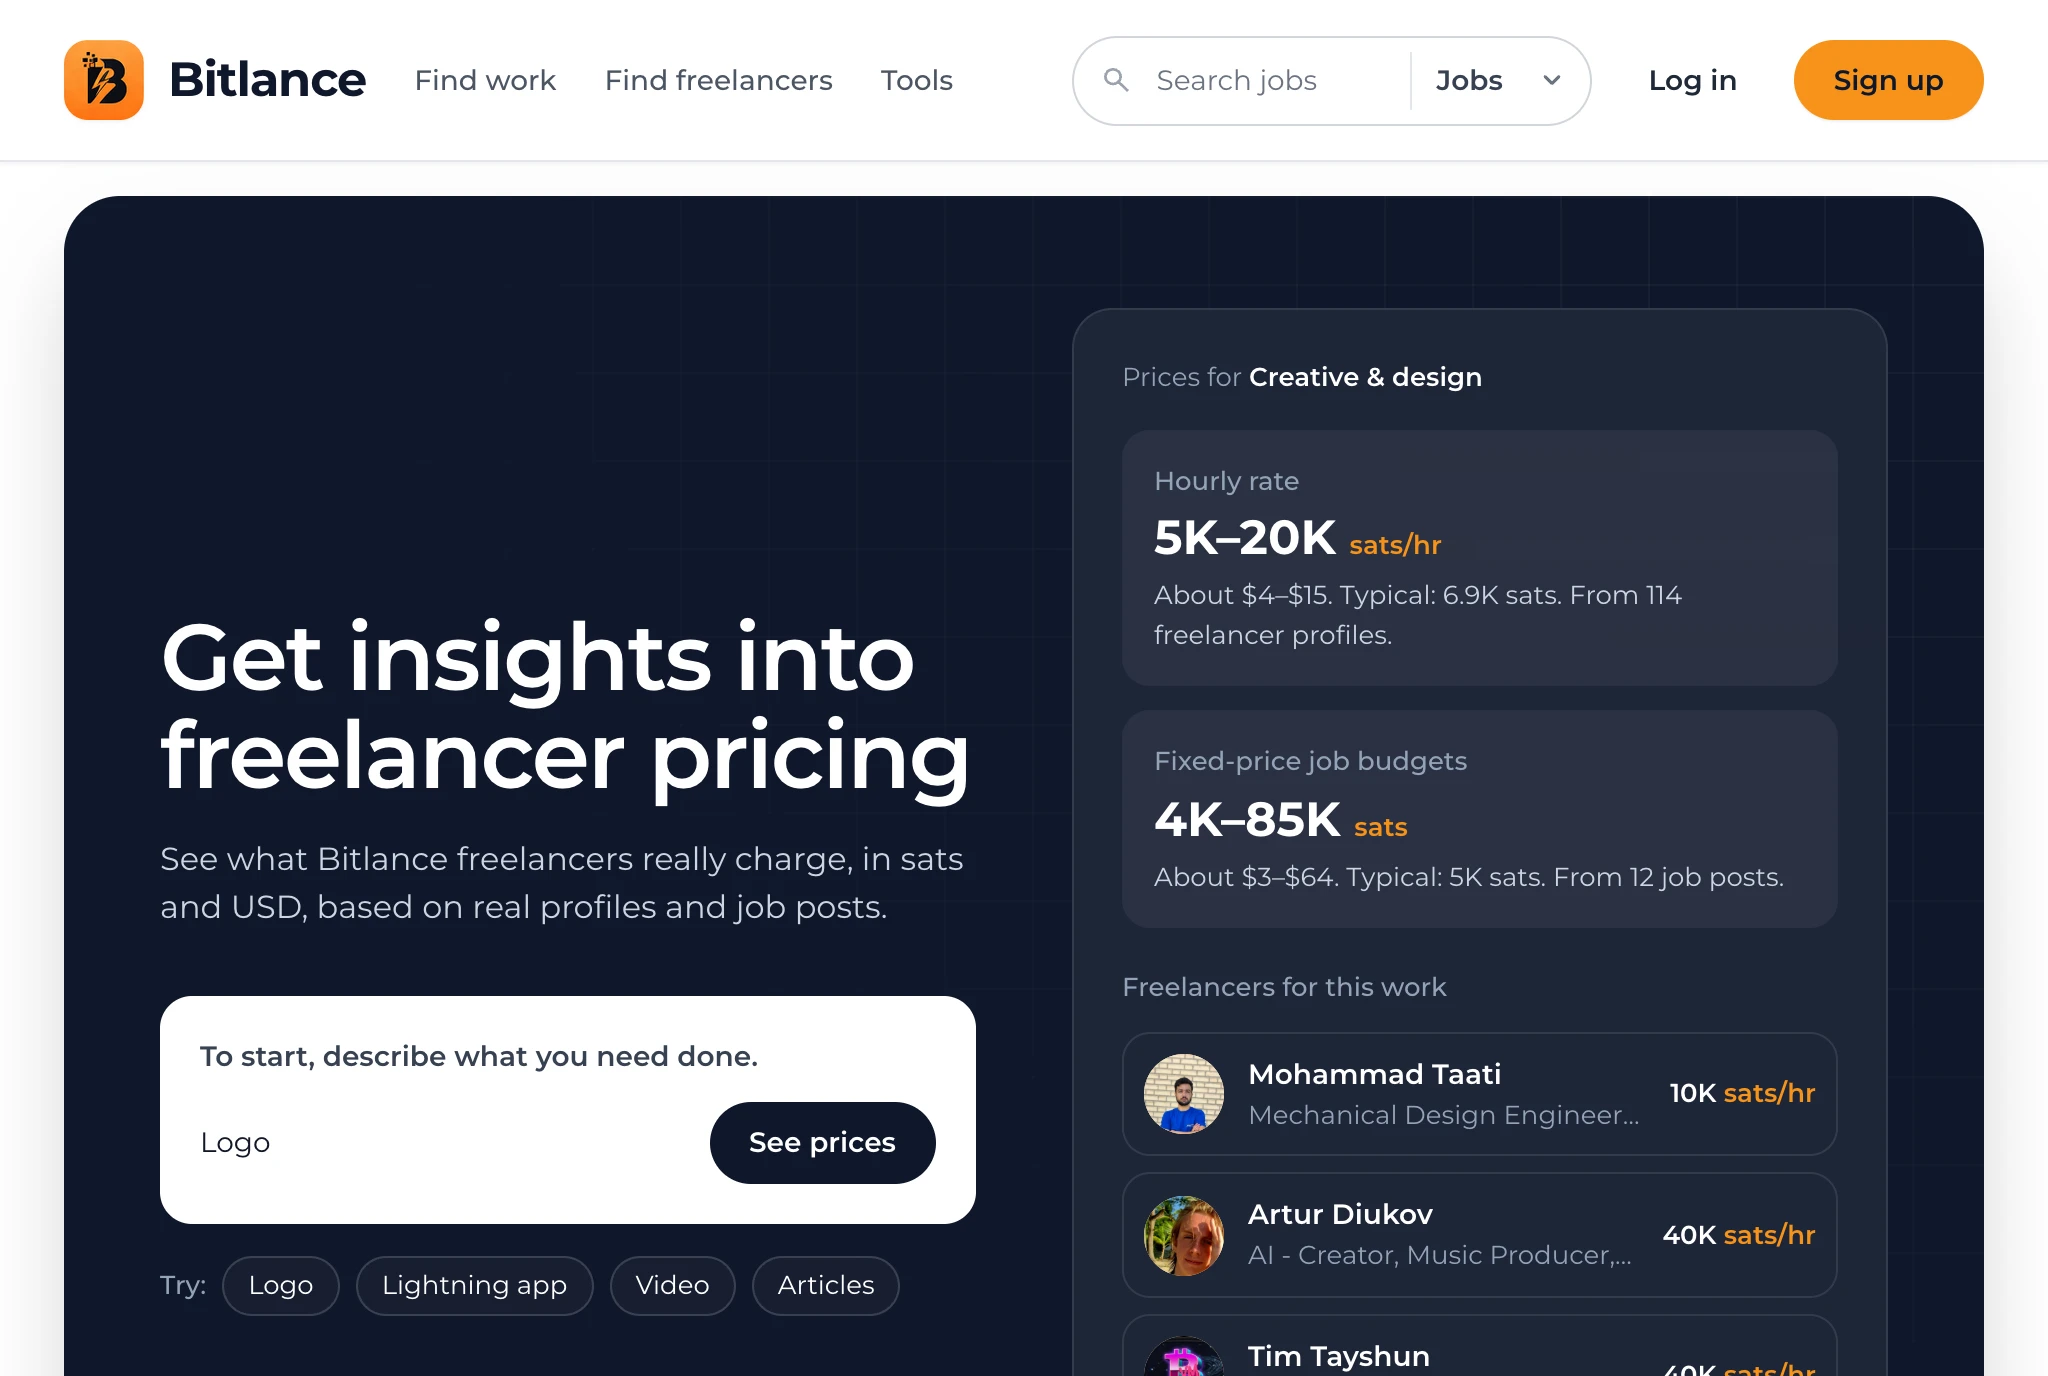
Not sure what to budget? On the Bitlance home page, describe your job in the pricing tool. It shows the typical hourly rate and fixed-price budgets for that kind of work, in sats and dollars, based on real Bitlance profiles and job posts. It also suggests freelancers you can contact.
Step 3: Post your job
From your dashboard, open Job posts and tap Post a job. The quickest way is Write with AI: describe what you need in a sentence or two, answer a few quick questions, and Bitlance drafts the whole post for you to check. Or fill it in yourself:
- Job title and category, so the right freelancers find it.
- Project goal and description: what you need and what success looks like.
- Deliverable format and scope: for example "5 logo concepts, PNG and SVG".
- Budget in sats, with the dollar value shown underneath, plus job type (fixed or hourly) and duration.
- Required skills and experience level.
Clear jobs get better proposals. Mention deadlines, examples you like, and anything the freelancer must know.
New posts are checked for common scam signs before they go live. Most go live straight away; a few show In Review for a short while.
Step 4: Review proposals or invite freelancers
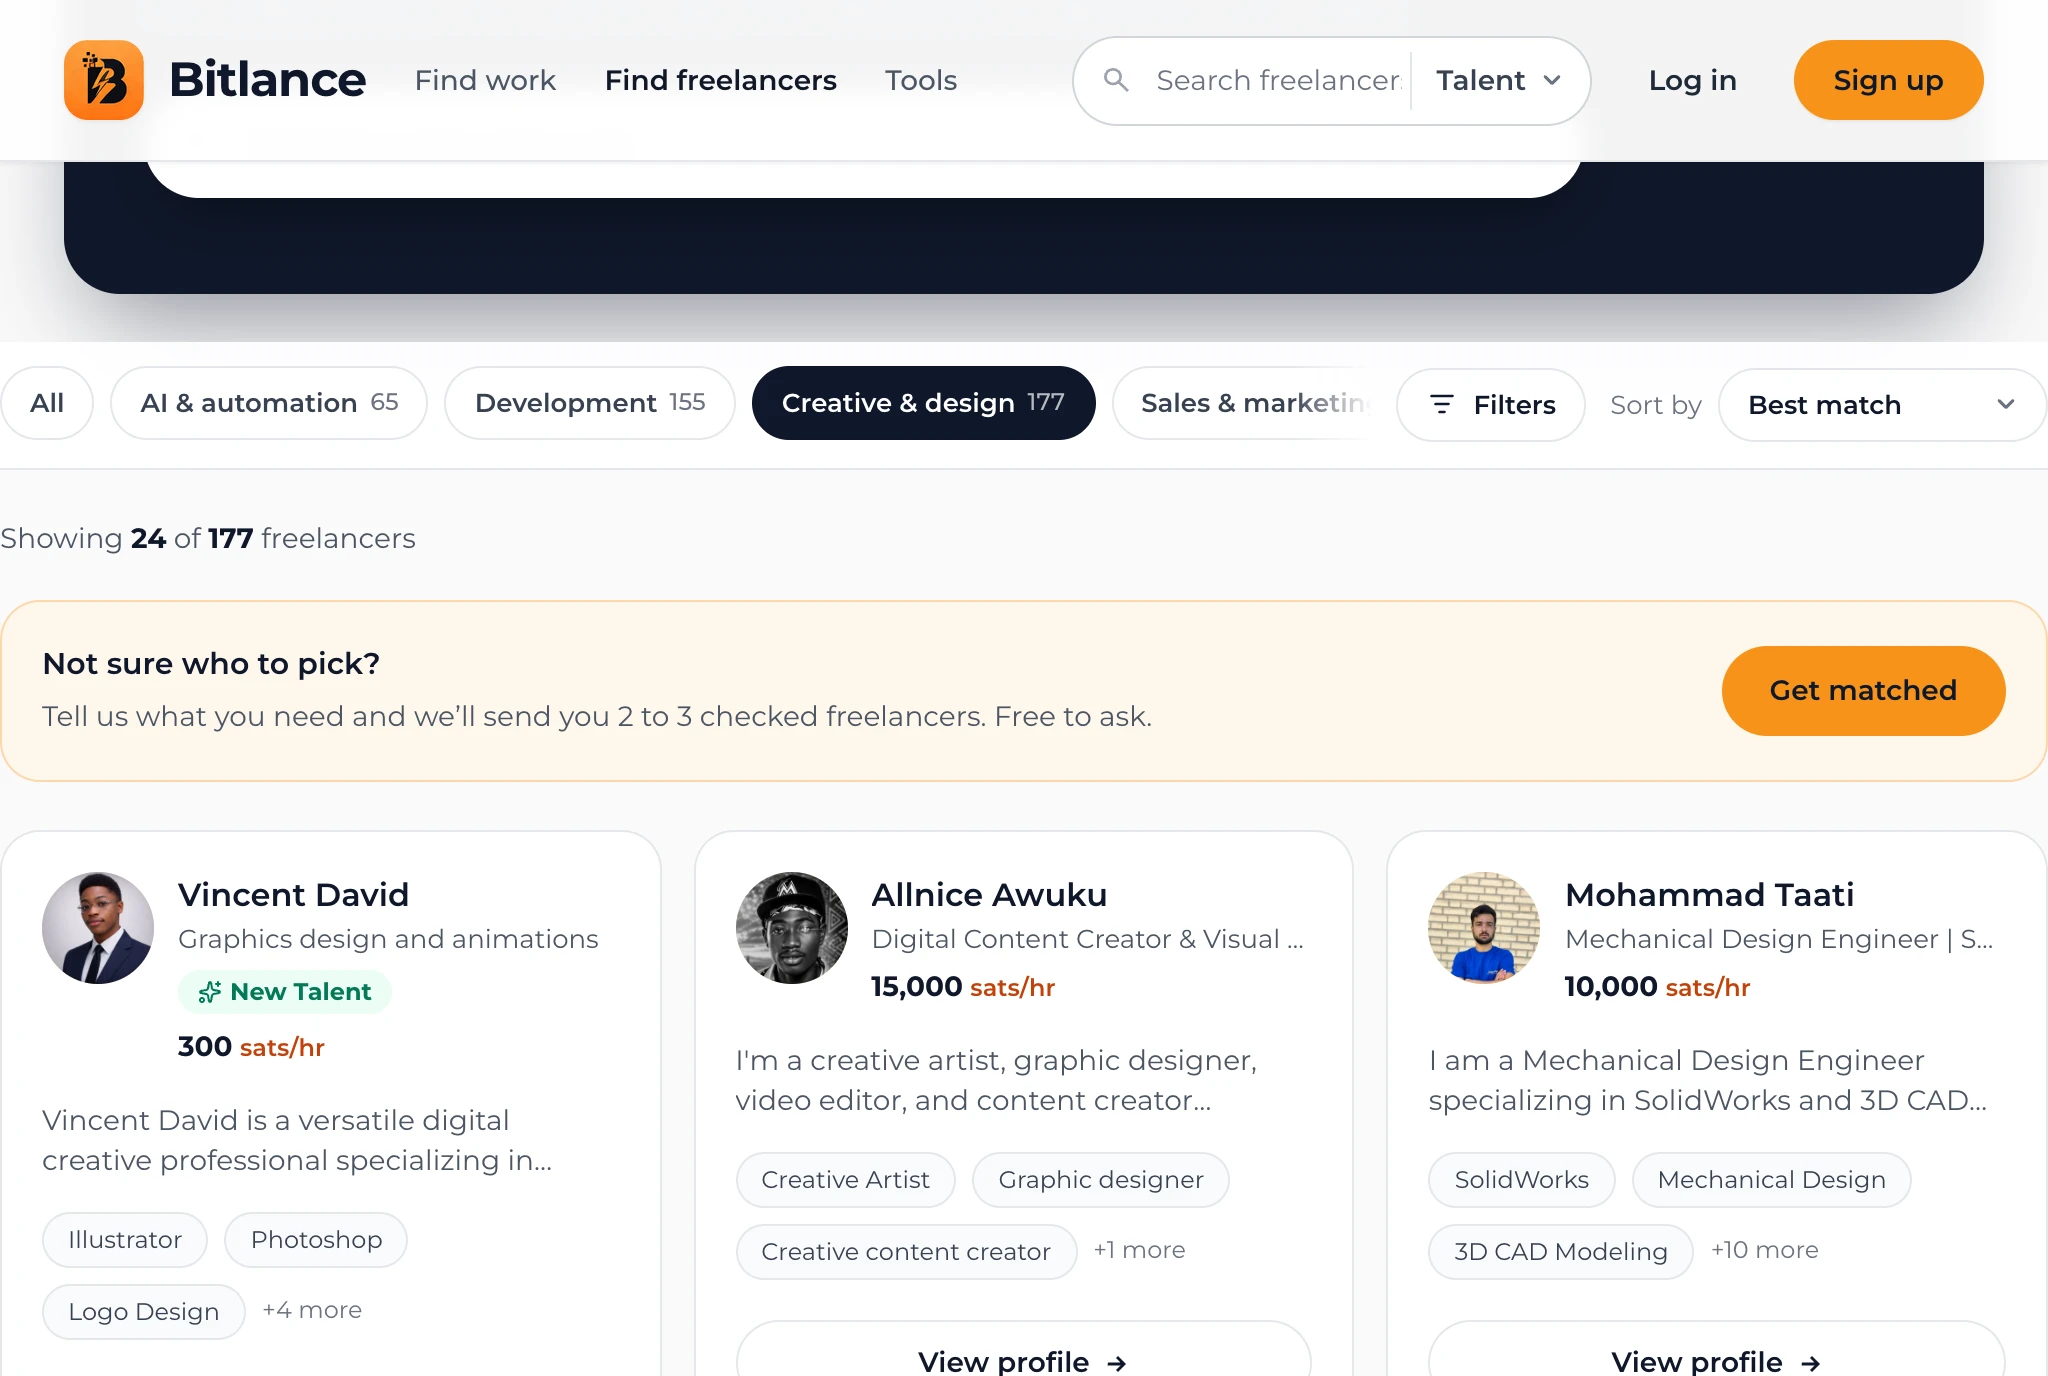
Proposals arrive in your dashboard. You can also browse Find Freelancers, filter by category, rate or badge, and use Invite to job in your dashboard to ask people directly.
Not sure who to pick? Use Get matched. Tell us what you need, and we'll email you 2 to 3 checked freelancers, usually within 2 working days. It's free and needs no account.
Step 5: Fund the milestone and work together
When you hire, the work is split into milestones. You pay a Lightning invoice inside the chat, either for all milestones at once or one milestone at a time. The milestone stays funded while the freelancer works, and you chat, share files and review deliveries in Messages.
Step 6: Approve and pay
When a milestone is delivered and you're satisfied, slide to pay. The sats go to the freelancer's Lightning address. A slide instead of a button means a stray tap can't send money. If something goes wrong, you can open a dispute and the Bitlance team will review it.
Fees
Clients pay a 5% platform fee on funded milestones. Freelancers keep 100% of their earnings.
Ready to start? Create your client account and post your first job.
Frequently asked questions
How do milestone payments protect me as a client?
You fund a milestone before work starts, and the sats are only released to the freelancer when you approve the delivered work.
What does it cost to hire on Bitlance?
Clients pay a 5% platform fee on funded milestones. There is no fee to post a job.

Written by
Bitlance team
Research and insights on Lightning Network payments, remote Bitcoin work, and freelancing.
Related articles
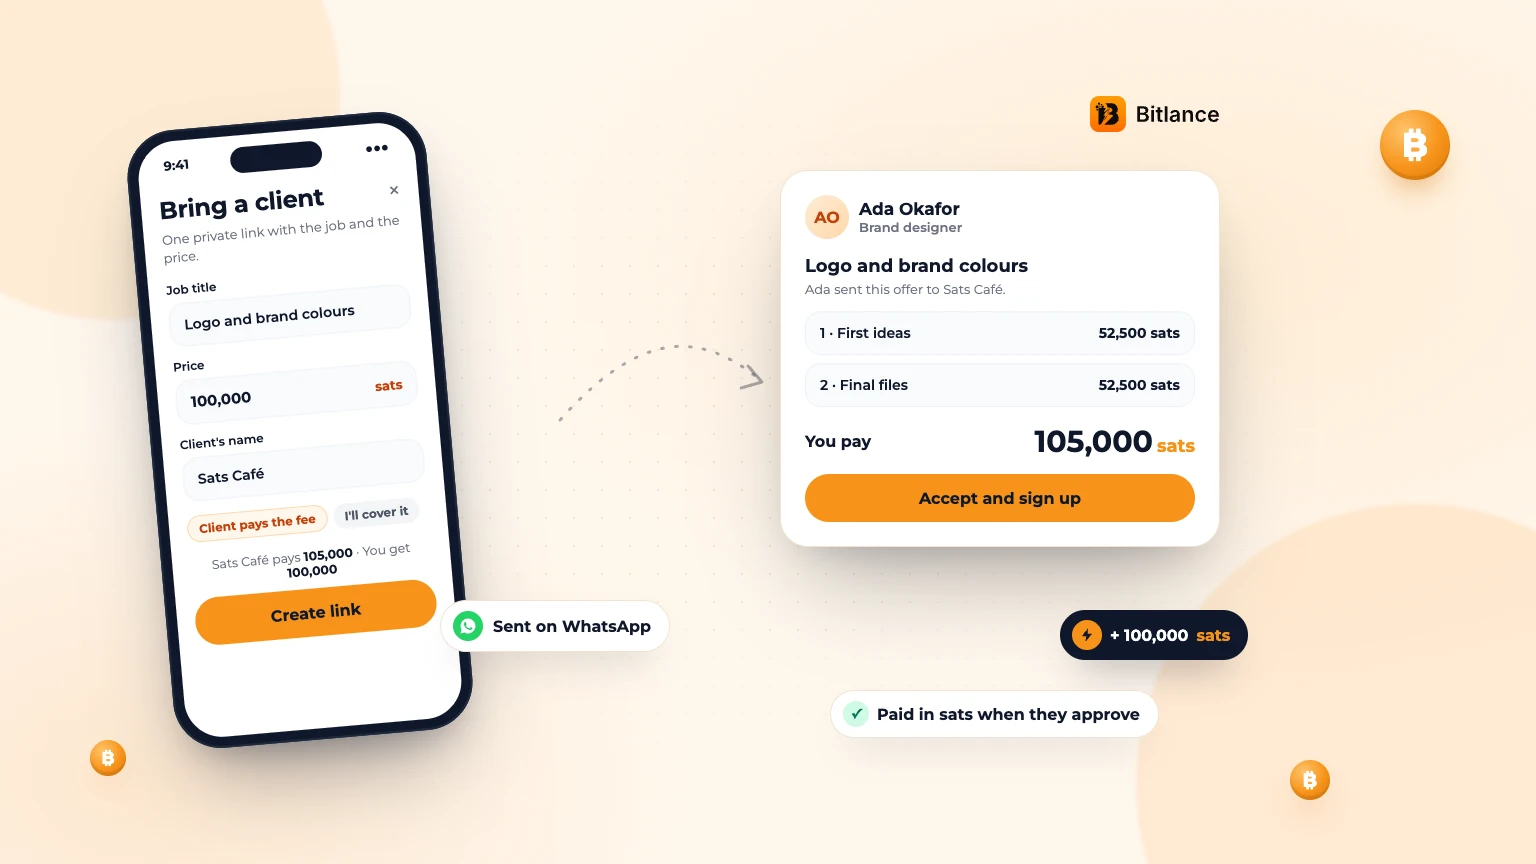
How to bring your own client to Bitlance and get paid in sats
One private link with the job and your price. Your client pays in first, and you're paid in sats when they approve....
Nov 133 min read
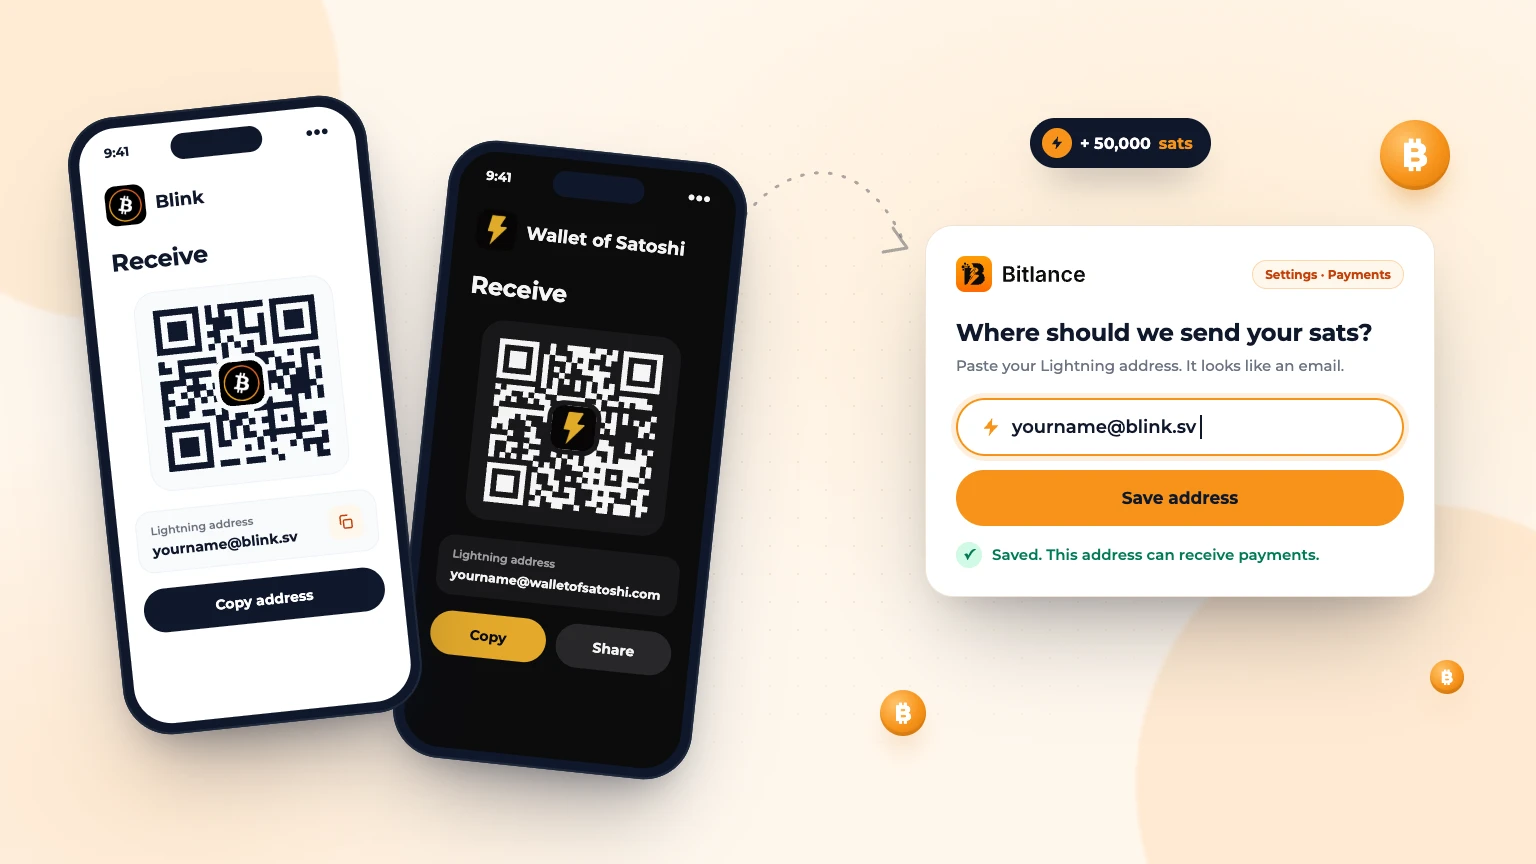
How to get a Lightning address and add it to Bitlance
Step by step with Blink and Wallet of Satoshi, for clients and freelancers: pick a wallet, get your address and add it to Bitlance....
Nov 139 min read
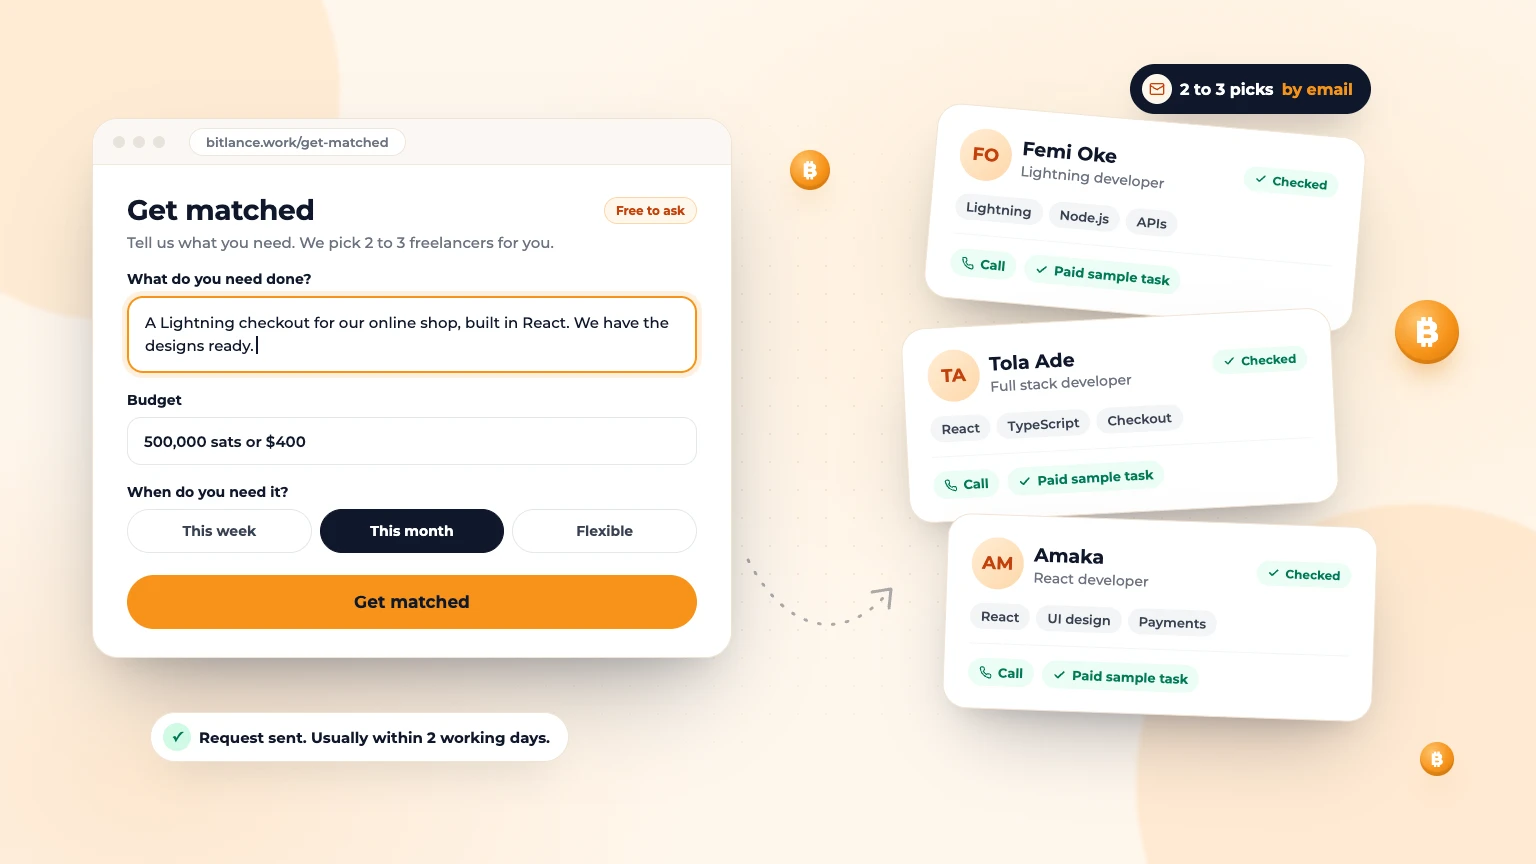
Get Matched: Let Bitlance Pick Checked Freelancers for You
Short on time? Tell us what you need and we'll email you 2 to 3 checked freelancers, usually within 2 working days. It's free to ask....
Nov 83 min read